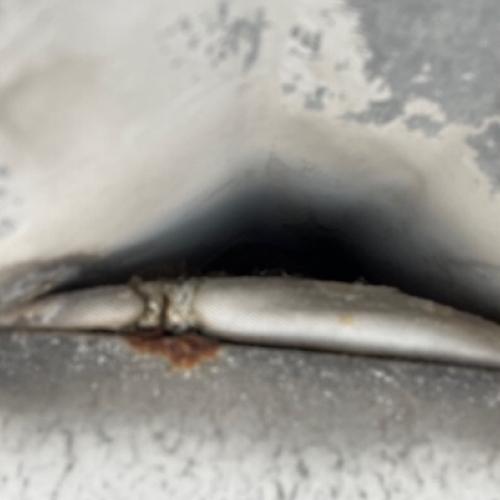
Sometimes closures aren’t installed at all.
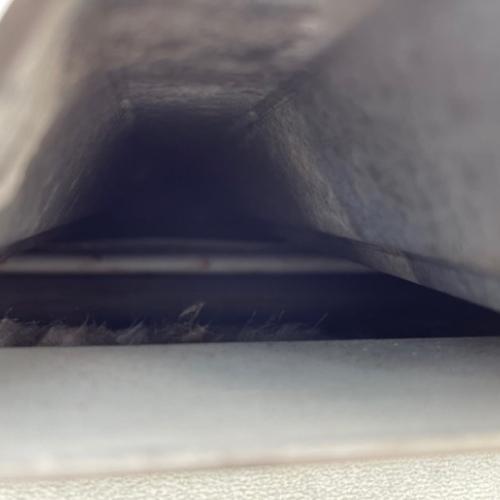
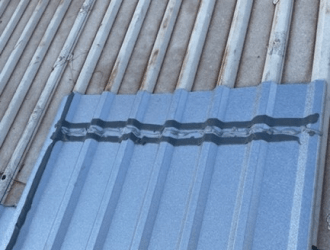
This closure is holding up well
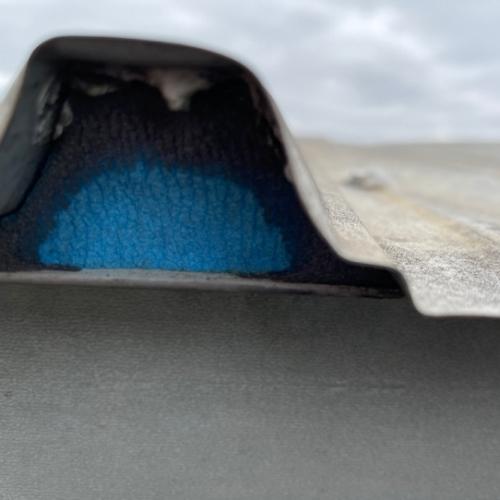
Often, we will see the insulation folded back. This is very common when a building is newly constructed. New insulation will be effective for a few years before it fails.
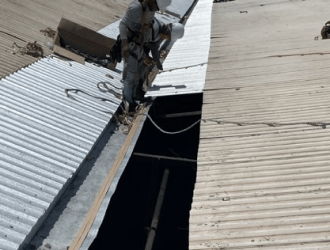
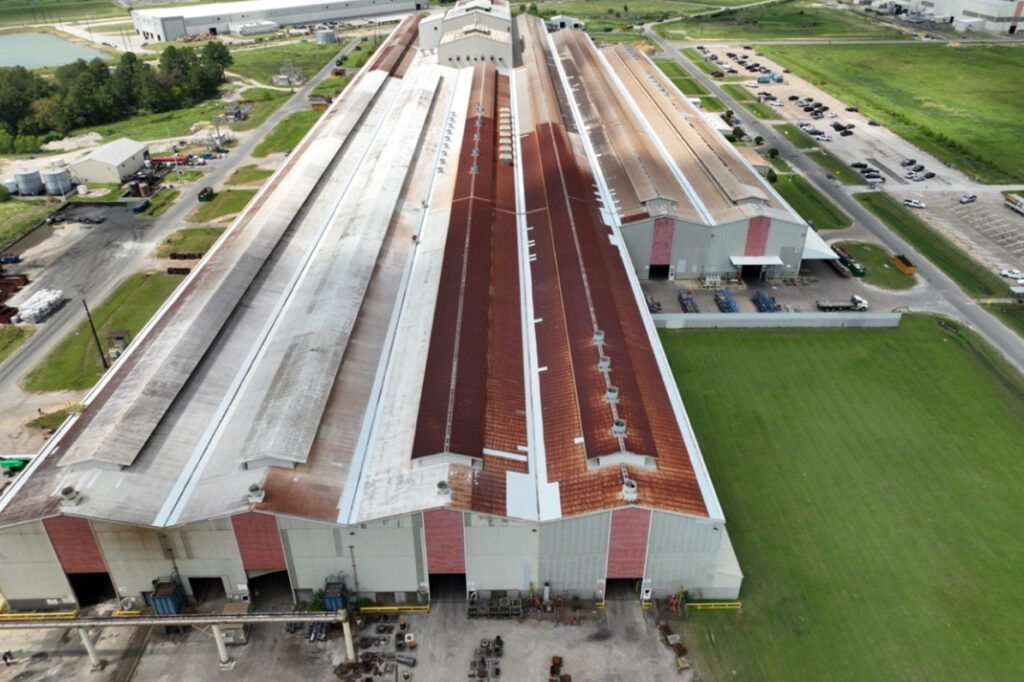
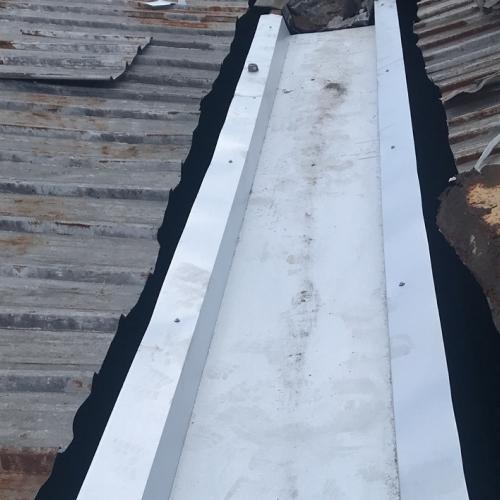
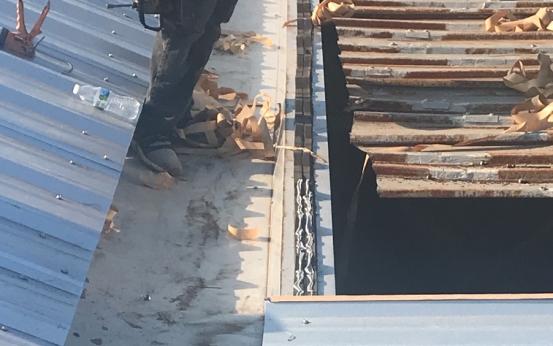
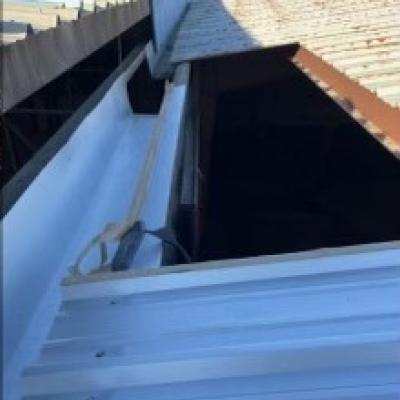
Above depicts a roof replacement that includes an internal gutter. We have documented the replacement process below.
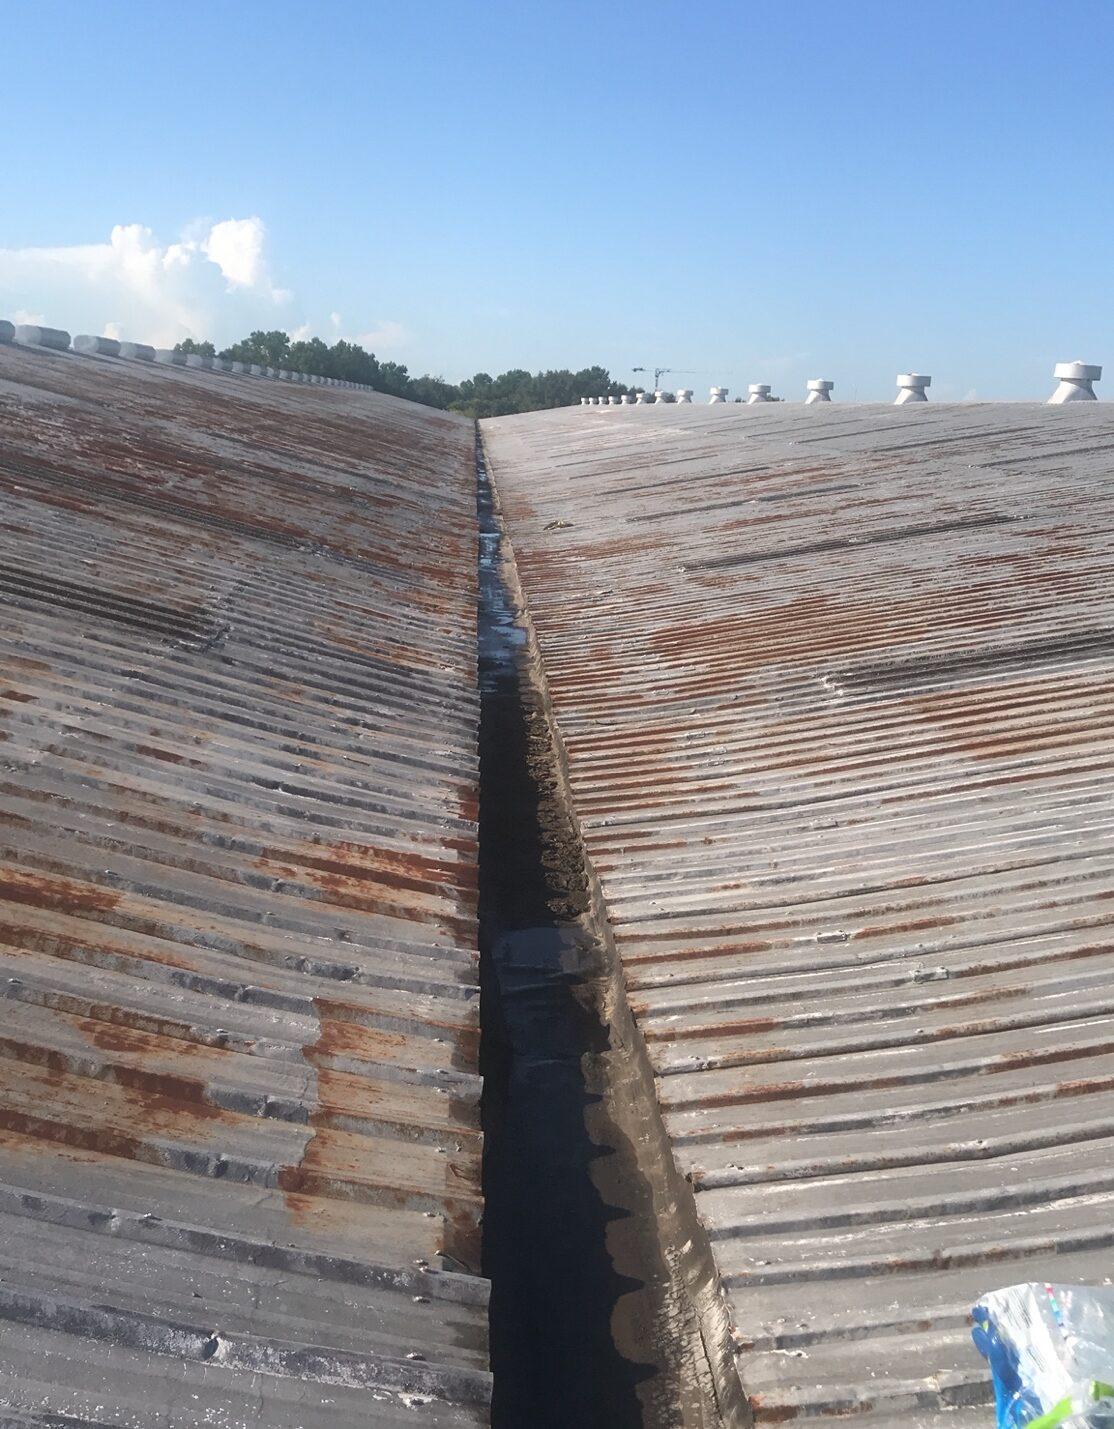
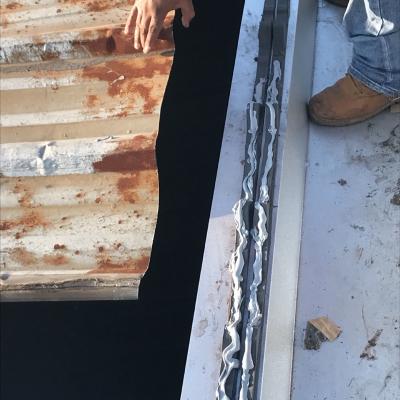
First, the roof is cut back to install the internal gutter.
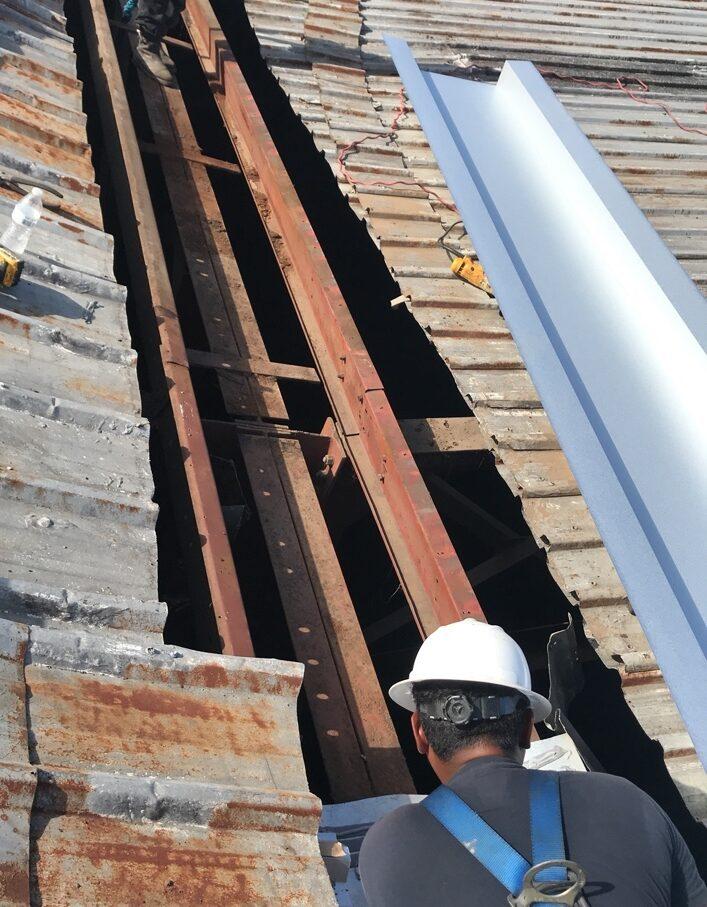
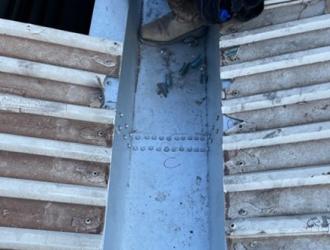
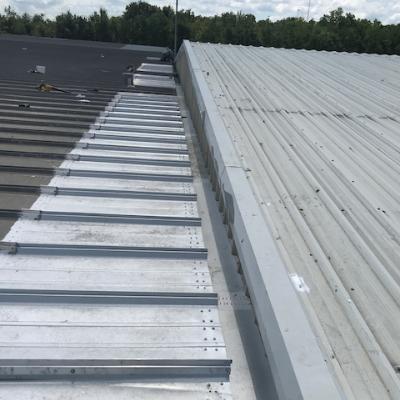
The internal gutter is laid into place. It is held in place by the frame of the roof.
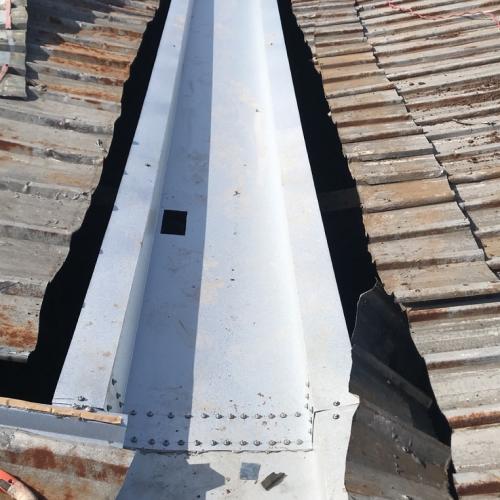
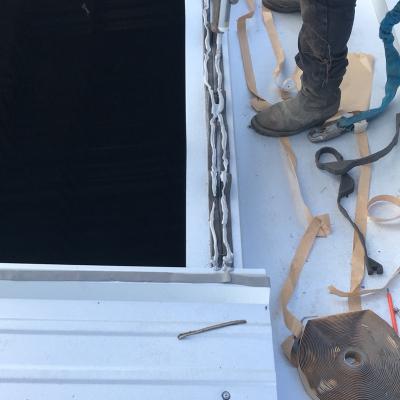
As the ends are connected, the laps are sealed using three rows of butyl caulk tape and urethane sealant.
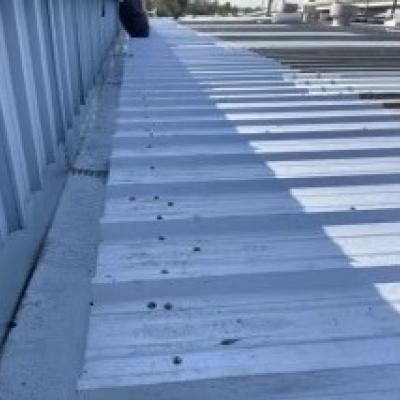
They are stitched together with two rows of fasteners.
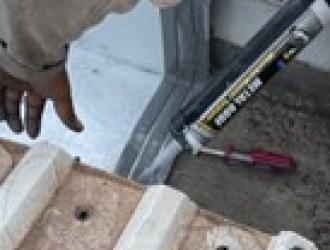
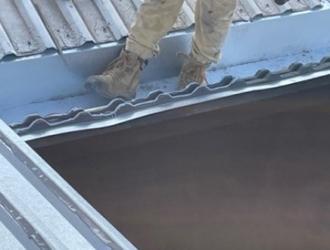
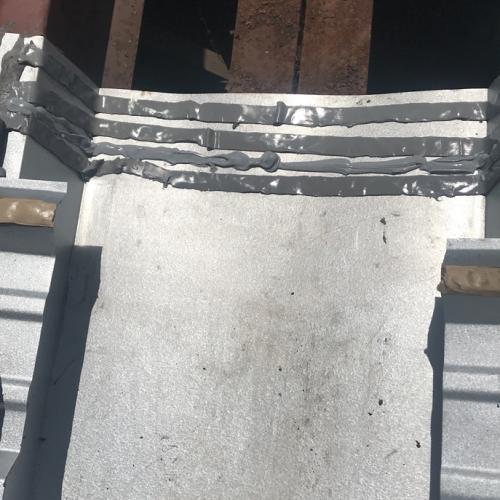
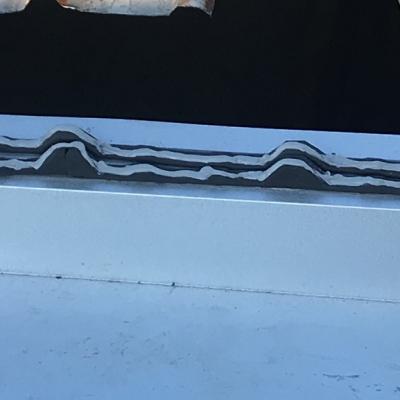
Closure is installed at the eave. First, two runs of butyl caulk tape.
Then, two runs of closure. The closure is 3’ long and matches the profile of the roof panels.
The have a connecting joint, the connecting joints are alternated and provides a backup waterproofing barrier.
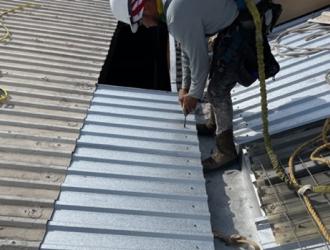
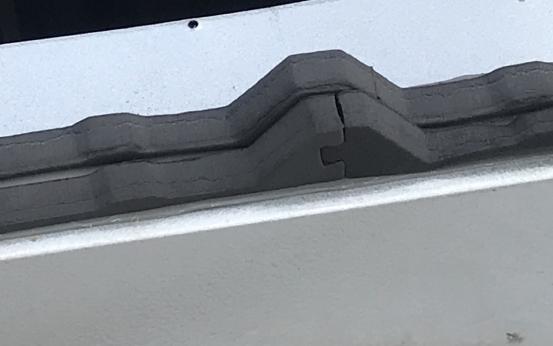
Urethane caulk is applied to the top of the closure
The roof panels are secured in place over the top of the closure.
This is what the finished product looks like.
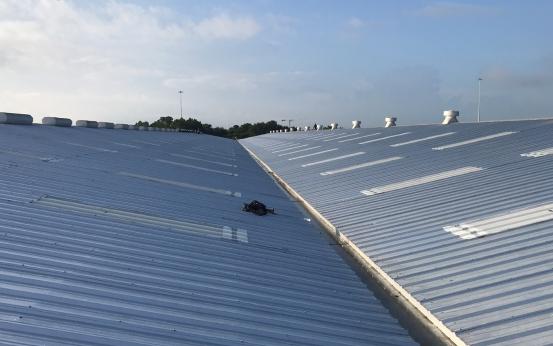
Sometimes an internal gutter is next to a wall.
The process is the same.
Sometimes we only need to replace the panels at the eave.
Sometimes we replace the entire roof.
The picture above is a standing seam roof with an internal gutter. A standing seam internal gutter replacement is a little more challenging than an R panel screw down roof. There are clips that hold down the panel seams.