Give us a call and we provide an estimate. all we need is a few minutes of your time and a few pictures.
Installation process and method
What you can expect, the process, and what will it look like.
First, measurements are taken of each bay. The measurements include the length and width of each purlin cavity to be filled. The insulation length is from column to column. The insulation runs meet in the middle at the top of the column. Between the top of the column and the bottom of the roof. One insulation strip is snug up against the next. There are normally less than 10 different sizes for a project, they need to be organized for an efficient installation.
Image showing what insulation rolls look like delivered to a project.
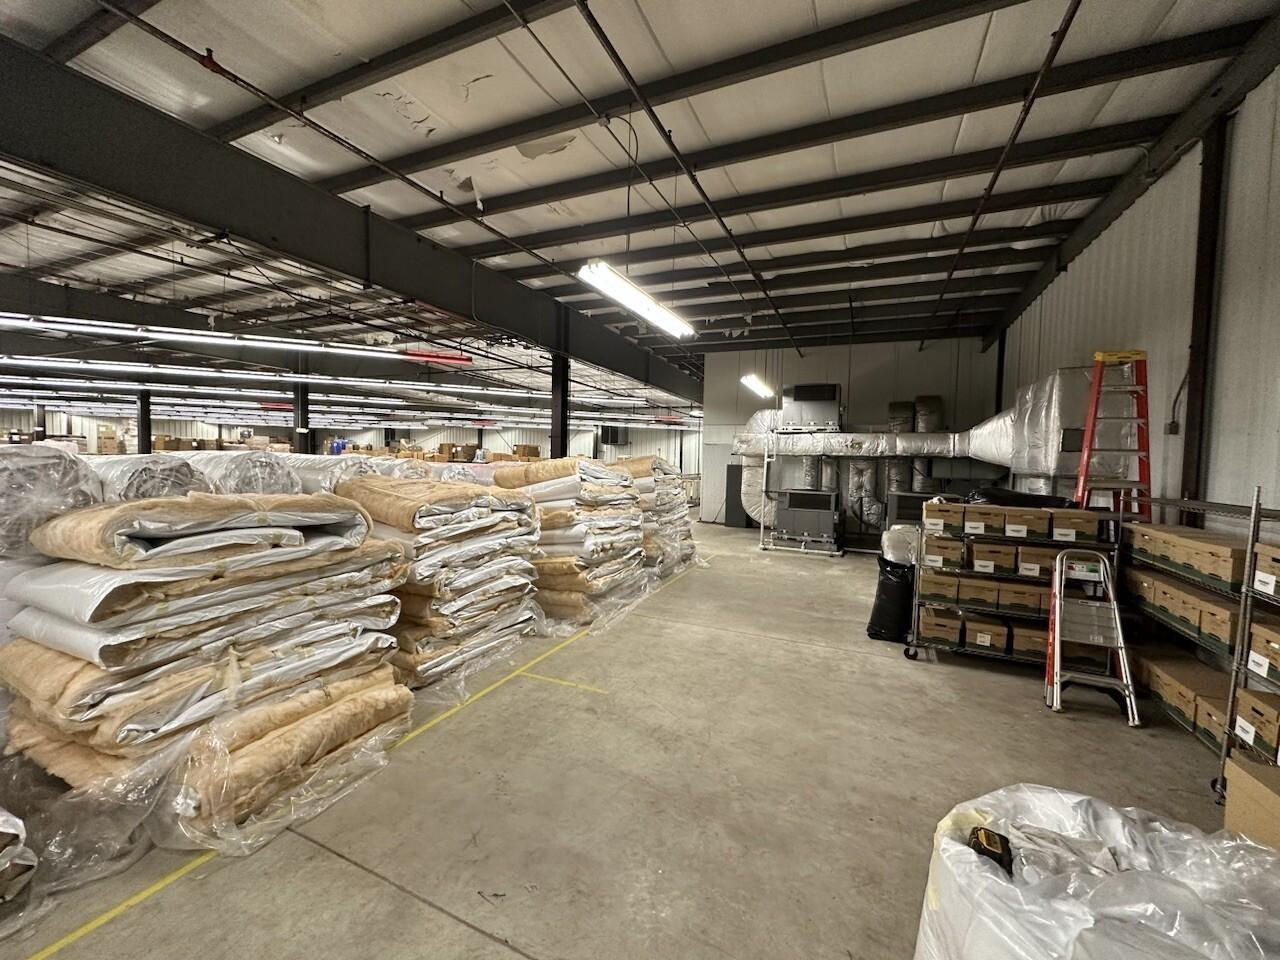
Installation process and method – Insulation organized
Before the insulation is installed, it needs to be organized based on the size required. Each run has a 3” tab on each side. The tab refers to the white facing being wider than the fiberglass insulation. The tab is pushed up against the side of the purlin. The tab, the 3” extra length of facing on each side hides/covers the side of the fiberglass and helps keep the face of the insulation as smooth as possible. The insulation in the picture is 8” thick, R-25. We are sometimes asked to install R-30, R-30 is 9 ½” of fiberglass.
Straps are run and the insulation is installed.
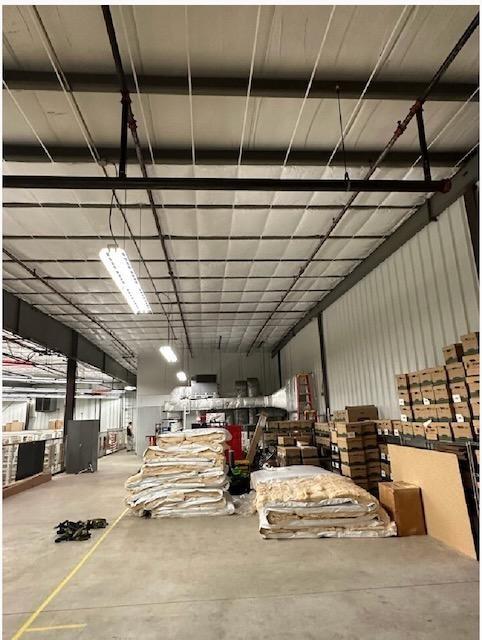
We install the insulation a section at a time. After a bay is complete,
we clean it up and get out of your way.
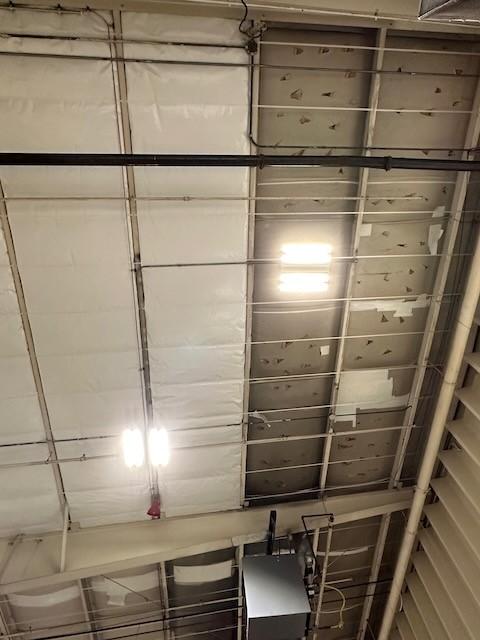
Installation in progress. The first step is to lay out the strap pattern. Straps are installed 2’ on center and 6” from the columns. The insulation is made to match the lengths and widths of the bays. The different insulation strips are pushed tight to each other above the columns. The insulation is pushed and pulled to remove most of the wrinkles.
The extra quality of the installation takes a little more time.
The straps run continues from ridge cap to eave, at times the lines are interrupted by obstacles, but we take time to have them as symmetrical as possible.
Left: As the insulation is pushed into place, we cut slits into the existing facing. If two vapor barriers exist (two sets of facing) condensation will occur.
Installation process and method
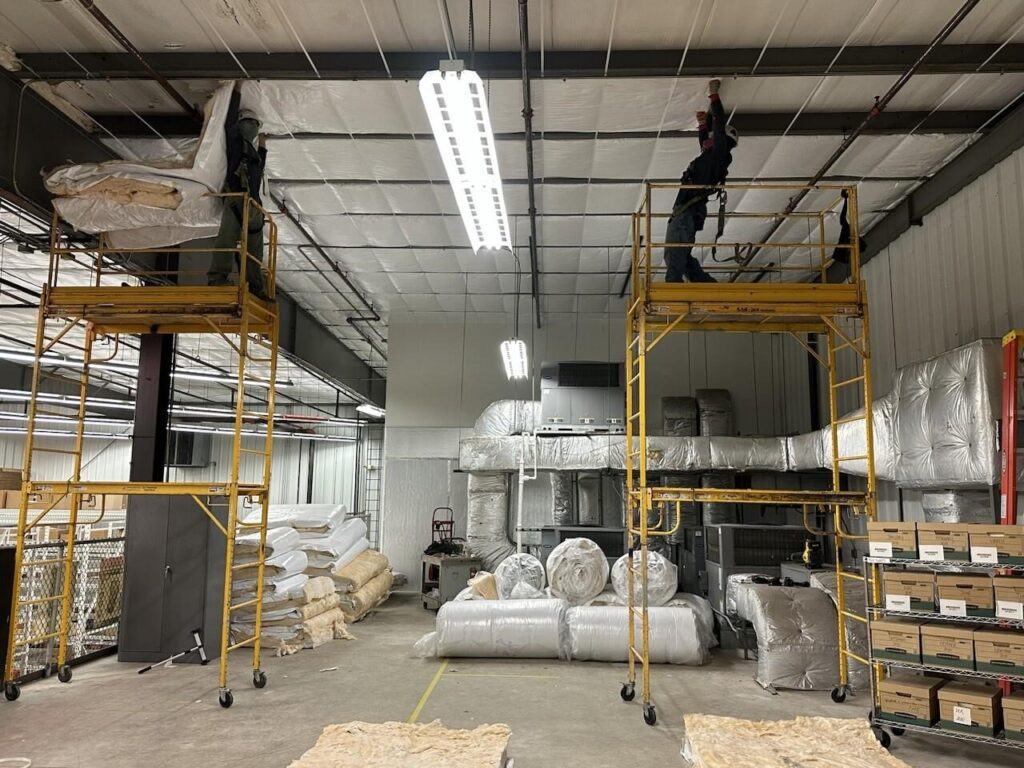
Pushing and pulling the insulation into place.
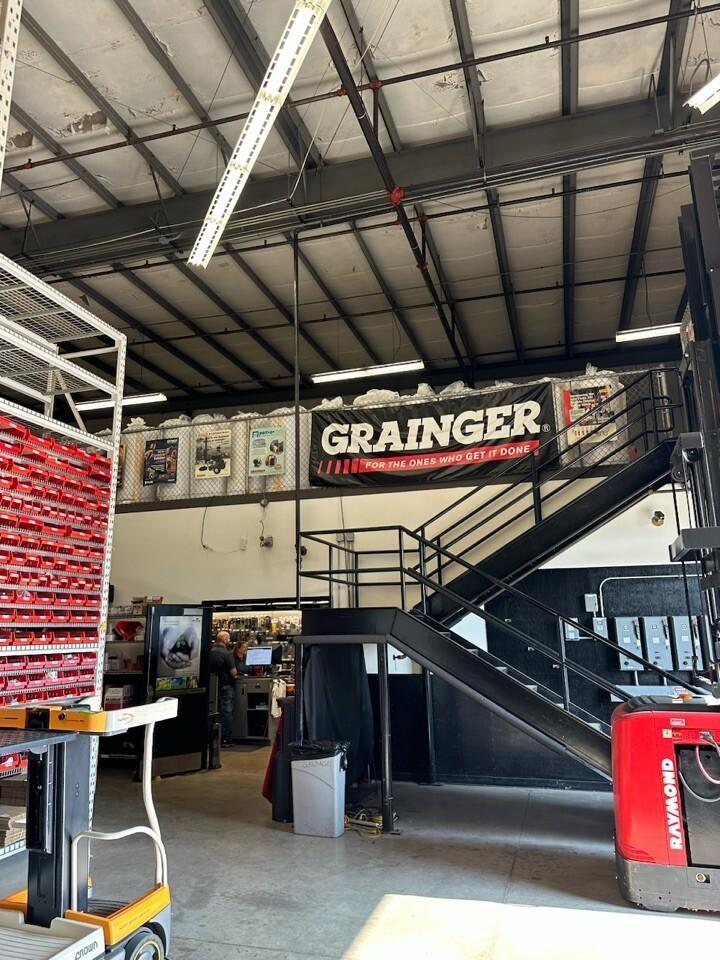
In the picture below we were working in a mezzanine area working off scaffolding. We use a combination of lifts and scaffolding as necessary to install. Below: Grainger Industrial Supply.